Showing posts with label Modeling. Show all posts

Thursday, 15 September 2016

After Effects and Final Turnaround!

I finally had everything finished and polished and the last thing that I had to do was plug them into aftereffects. I did everything as normal - put in my 2 png sequences plus lowering their fps from 30 to 25 to allow my turnaround to be a clean 6 seconds.


I also tried adding a white and orange solid to give my character a little more life but after some thinking I decided to remove them because it made the blue colours on his clothes look a little washed out, and it took some saturation out of my character too.


The orange version is on the left and it does look a lot more washed out as I sit here typing this, so I am pretty happy that I decided to switch back to the original colours that I had. I played around with the settings in After Effects with the help of a classmate and finally exported my final piece.

The Final Video!!!

Occlusion Setup

The Occlusion process for me was very stressful. First I downloaded the video file but the audio was not working for me at all - I had to piece my way together from what I remembered from the day before as the teacher was recording it. I also had a LOT of help from my classmate.

The problem fixed itself when I changed what program I was viewing it in though so that was good. I managed to create an accurate copy of what the teacher did in no time with the voice included.


To export the file I did all of the setting required and everything turned out great. This was the result of my Occlusion:


As shown I was pretty pleased with how it turned out - the quality and shadow placements were perfect! It took a while to render but when I was done I just went ahead and rendered the coloured version which took a lot less time to render - in fact I did it about 2 times because I messed up the first time T.T


This was the maya view versus the preview render. At first while I was setting up things werent going so great. My character was far too shiny and I had a lot of lights, I had to play around in the original file to get the shine levels down to a (personal) acceptable rate. I may have overdone it though because the places where I wanted shine (the eyes and bow) seem to have lost it but thats alright with me because the end result is quite nice and the matte texture almost makes the character look like he is made out of coloured chocolate and put on a cake! (a classmate pointed that out to me)

Final Textures


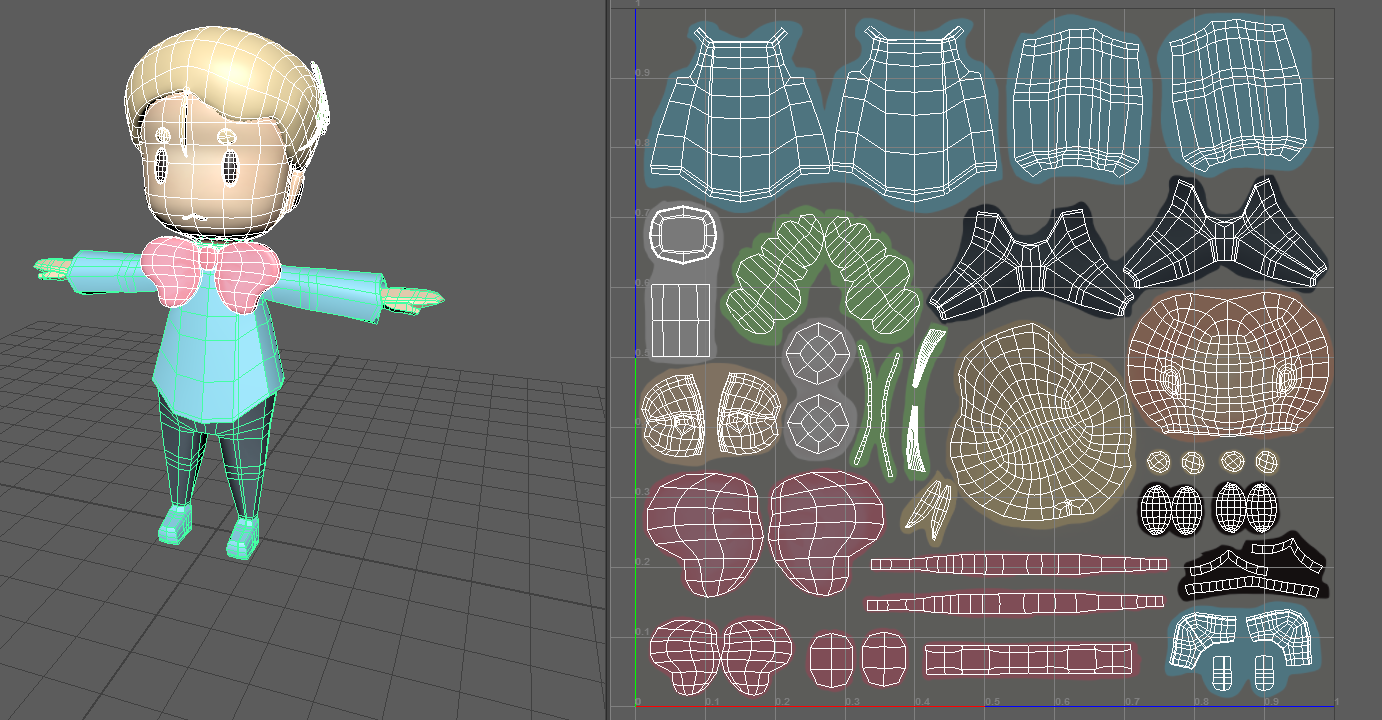
This is the final textures for Iaven. I tried to paint on details, specifically the bow and shirt as they are the biggest piece of geometry that draws attention. I didn't think his hair needed a texture other than a simple gradient so I just left it as it was.

I adjusted some colours from his shoes - at first on his concept they were red, but I changed it to blue when texturing. After some internal debating I thought that his colour scheme wasn't as bright as I had hoped so I just changed it back to red. I think that it looks better though.


The Final texture map:


Overall I'm pretty happy with how the textures turned out when translated onto my character - some parts like the eyes and mouth didn't need much work at all as the actual size on the model is quite small.


Thursday, 8 September 2016

UV Mapping and Textures


I have already unwrapped my character and started to block the colour and add a little bit of texture and shading to my character,


I was also playing around with some lighting and having some fun :D


Monday, 5 September 2016

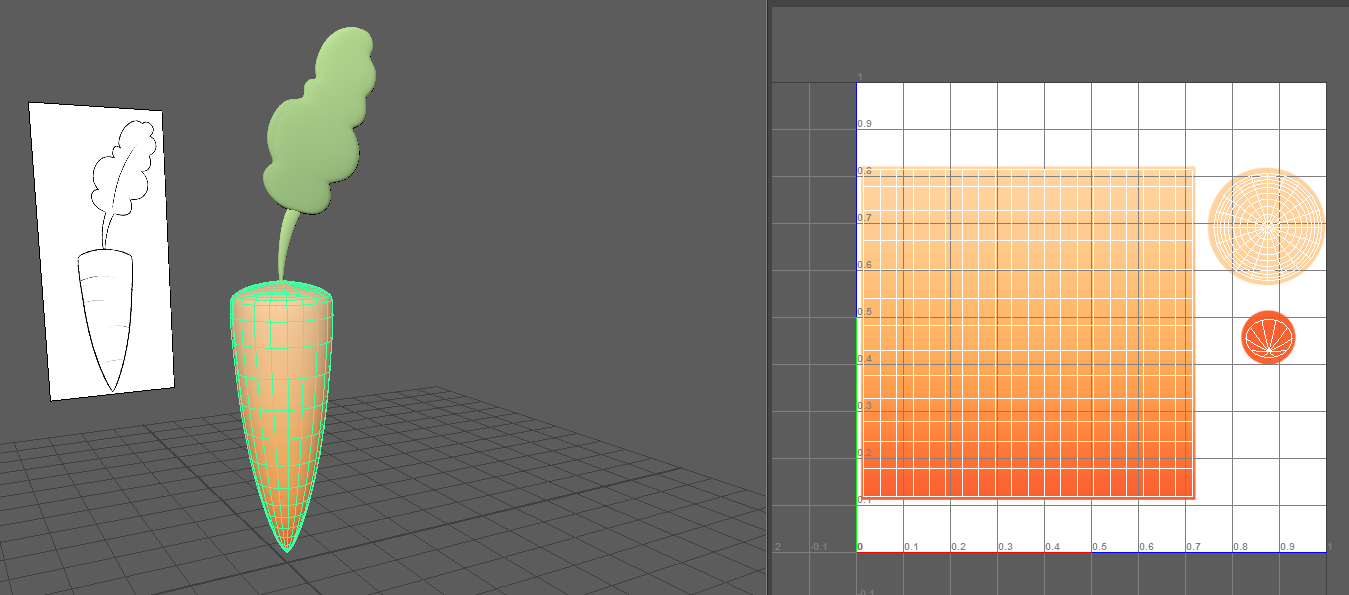
Unwrapping my Prop

Started to unwrap the UV's for my character's prop in Maya. The colours are a little hard to put on as they seem to be a little less saturated than what I had hoped for them to be. Otherwise arranging the maps and stuff seem to kinda easy but then my prop is fairly simple as it is so I'll see when I start to unwrap my character as well.


Tuesday, 30 August 2016

Finished Modeling!


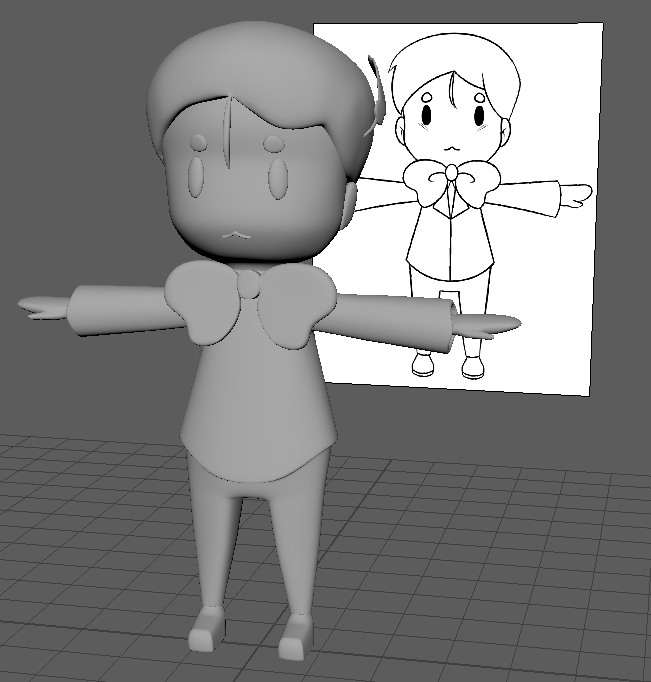
This is the finished product of my 3D modeling. There were a lot of things that were challenging to me - like the thumb loop and the apperance of many triangles, but I'm glad that there were things that was quite easy to do like my hair strand and the feet were actually pretty simple.


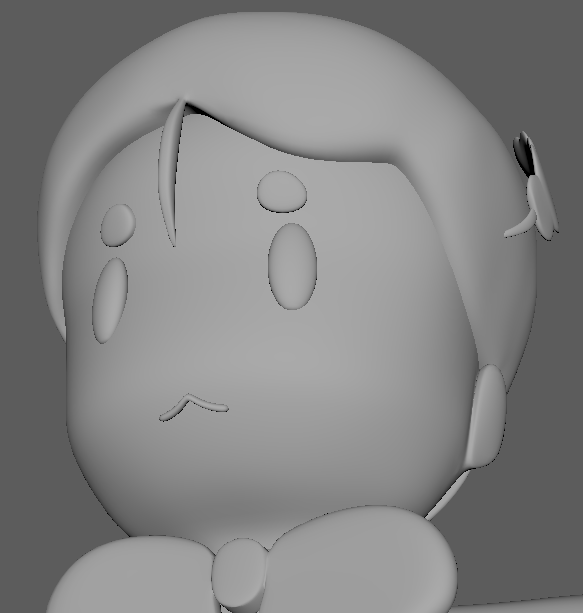
The head was quite troublesome - when I first tired to model the hair it was pretty difficult - however after playing with the vertices's on the sides and triangle busting I finally got it right. Also yesterday there was a gap between the head and the hair - I fixed that by extending that bottom parts of the hair so that they were stuck inside the scalp. The middle of the mouth was looking a bit weird too and the teachers told me that there was faces located inside the mouth and once I got rid of them it started to look pretty good.


The tail that I wanted to originally add had a lot of "fluff" to it that I could have made by extruding the faces of the tail, or stacked circular objects on to of each other to create the fur of the bunny tail. I decided to instead just have a simple circle that would serve as the tail because like one of the teachers said, the tail is not the selling point and therefore should keep it relatively simple.


Side Views.

One thing that I didn't add from my turnaround is the piece of hair that is sticking out on the left side of my character - I could have done an extrusion from the hair but I think that this looks fine as it is, and it is an extra detail that seems pretty unneccesary. 

A lot of the peer critques that I got were just full of, it's cute! So I didn't have that much to edit. One thang that came up a lot was that the feet were quite square/sharp. I removed some edge loops from the tip so that it could be a little more rounded.

Overall I am pretty happy with what I came out with and I hope that I can properly animate it in the future as well!

Thursday, 25 August 2016

Hair/Hands


Today I started to really flesh out the hair - adding the under edges to make it less of a 2D plane and also shaping the head so it was more smooth. Some things that I had a little trouble with was making the fringe look nice in 3D, as my turnarounds were not that accurate in terms of the shape.


There were still some sharp edges in here but when I smooth them out it seems to not be as much of a problem. When I mirror the two sides I'll need to shift the left fringe a little as his hair is asymmetrical. I'll need to fit in his ears soon - I dont know if I should extrude from his head or create them from a seperate object. Either way I should get it done soon.


Today I also created the hands for my character. At first this was pretty challenging but as I went on it became a lot easier to see what would work and what wouldn't work. The thumb was an extrusion from the hand, it surprisingly went alright and didn't look out of place as I thought it would. The teacher helped me make an edge loop around the base of the thumb however this created some problems in the form of triangles and 5sided shapes. Thankfully I had the help of some classmates to weed them out - if not I wouldn't have been able to get rid of them as fast as I did.

Monday, 22 August 2016

Update: Head/Hair


I have modeled the head and it was actually quite a challenge. Honestly I had way too many Edge Loops so I deleted some, which made it more blocky but the teachers said it was fine. One of the most troubling things about this was the neck, it was pretty hard to make it come down to a point nicely and I struggled with that a lot. However the problems were mostly caused by too many edge loops and vertexes so once I deleted them it became much easier to manage.


For the joints I had added some edge loops around the crotch to make his legs be able to actually move. I also added extra edge loops around the bottom of the jacket and trousers so when it is smoothed out they edges are more visible.


This is the starting of my bow. For now it is just a square extruded from a circle/cube.


For my hair the teachers helped me by making a flat plane and continuously extuding until I get all around the head. For the eyes I had used a sphere but I plan on getting rid of the triangles later. Also am going to make the eyebrows out of cubes and the mouth will be a seperate object sitting on top of the head that I will manipulate into expressions.


Thursday, 18 August 2016

Modelling Details


I have started to flesh out the details of my sleeve, body and leg. The teacher mentioned that it was a little too blocky so I went ahead and made it a little more curved around the sharp edges, also I got rid of some unnecessary lines that the teacher said were a little too close together, so when I smoothed it out there were still some harsh lines. With the teachers advice I made the sleeves a lot more rounded out instead of just four sides like there were initially.

I think one of the hardest things so far is when I delete and connect the faces together and the verticies are not lined up properly - this happened to me often especially around the crotch area.

I still need to do the hand and foot of my character, as well as the head and bow. I don't think that I need to model out the front of his jacket, instead I'll just make it a painted on texture.

Character Modeling


I started modeling my character from here. I decided to make the body first as that seemed like one of the harder thing to do. I modeled the basic leg and shoulder to allow my character to have a basic shape that I could refine later on. I actually had a lot of trouble with the crotch area and the shape of the leg. Also the collar part of my model seems to be glitched with all the extrutions that I put on it.

Overall things seem to be coming together pretty well and I have not had to make any major changes in regards to my 2D into 3D transitions.

Prop


This is the prop that my character Iaven will be holding. It is a carrot, and the leaf will serve as a hair accessory as well when I finish modeling my character. Making this was pretty easy with the help of the teacher giving me new tools to work with, such as the Insert Edge Loop to make it much more rounded.

I actually had a lot of triangles at the top and bottom of the carrot, so I went in and just removed the edges so that each 'triangle' had four edges instead of 3.

Iaven Model Sheet


This is the Model Sheet for Iaven. I didn't think I needed a turn around for my prop but it turns out that I needed a side view so I could determine the thickness of the leaf. I ended up choosing the blonde/blue colour scheme as that was the most popular one in the opinions of classmates and friends, also it is a colour scheme that I enjoy as well.