Thursday 24 November 2016

Final Blog Entry Rationale - Iaven


So the time has finally come where I have finished the assignment. Honestly I never thought that the time would come where I have a fully rigged/textured model, with rendered animations.

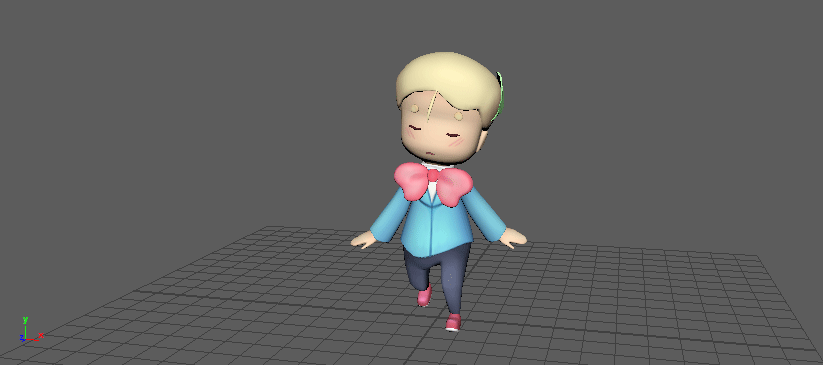
From the first moment that I had gotten this assignment, I knew that I didn't want to model something as depressing as Olivia, I wanted someone fun and bubbly with bright colours. The inspiration that I got Iaven from was Alice in Wonderland, with the art direction and colours fitting my need for something positive. Iaven was inspired by multiple characters, Alice, The Mad Hatter, Bunny in a Waistcoat and the Cheshire cat. Iaven's design has changed quite a lot from the first concept to the last but his core identity as a small child with a bowtie was kept consistent.

With two classmates we got the idea to have a joined story with characters that would live in the same world. This was actually really fun to create the story and characters together with friends and it made the experience so much better!

During his development we had Peer Critique sessions where we would show our classmates our characters to get feedback on and such. I don't know why but I got a very large amount of positive feedback, this isn't necessarily a good thing though because when it was time to apply the feedback to our characters I didn't have much to change even though I thought a lot of things that I couldn't see needed to be changed. The very last peer critique session that I had was to judge our walk animations. Catherine helped me with this and actually gave a lot of helpful advice that I applied to my animation shortly after.

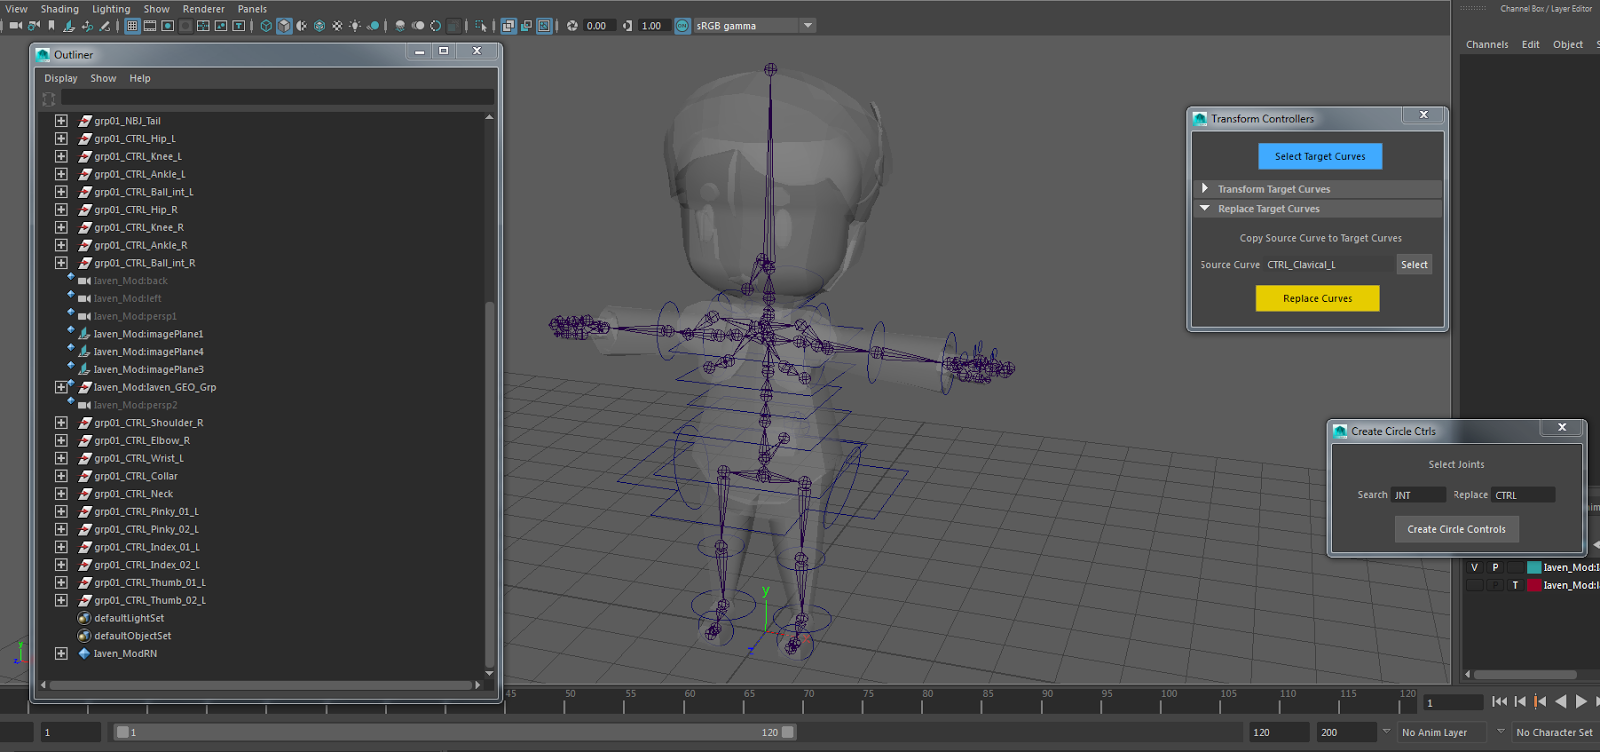
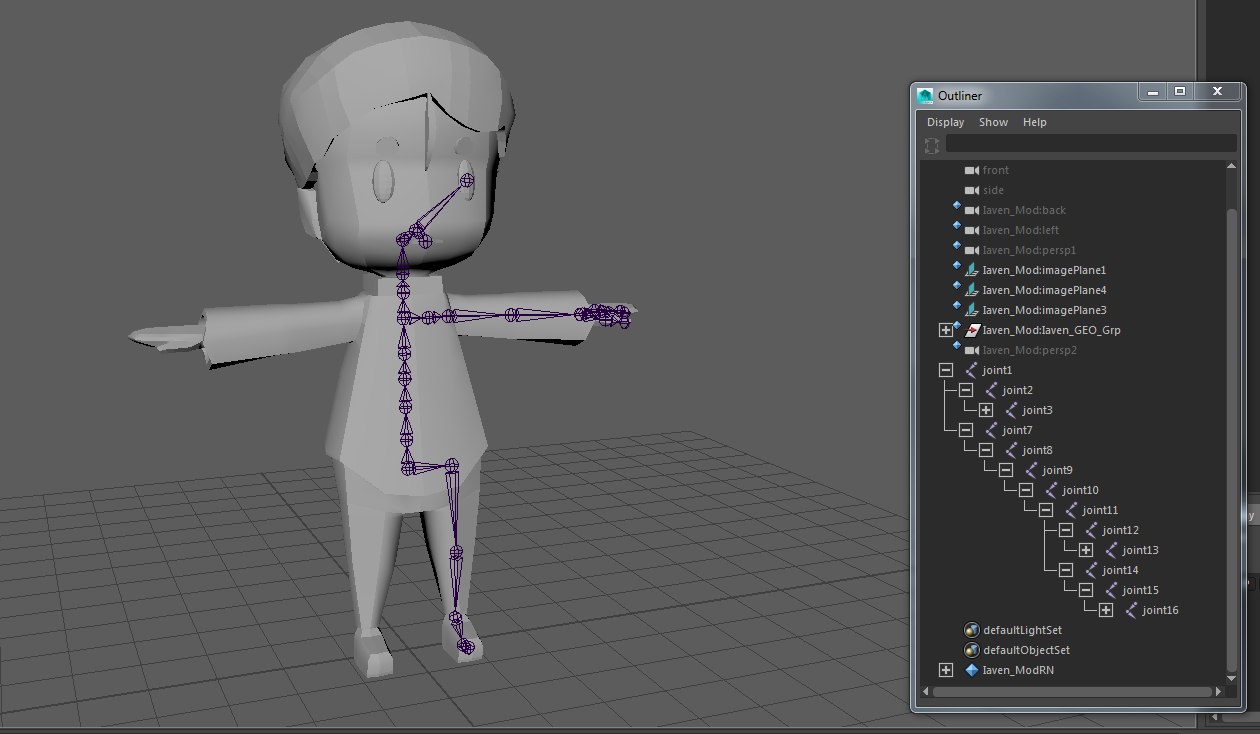
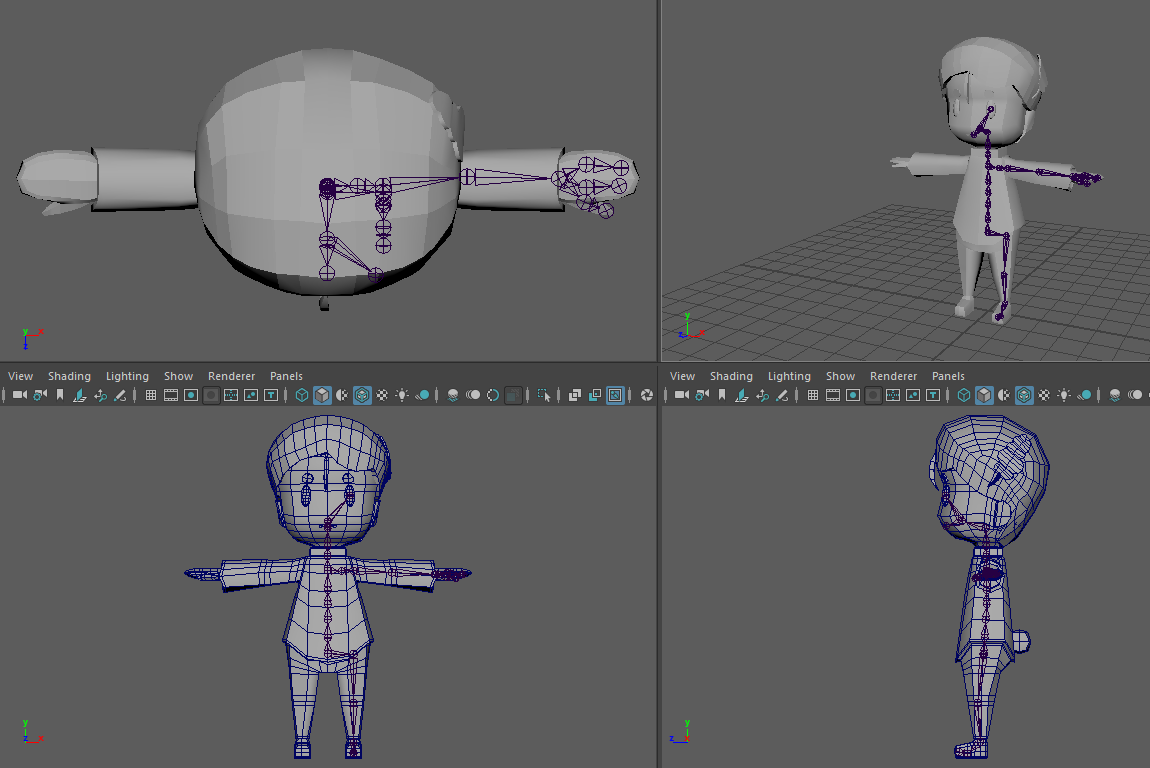
The modeling process was actually not as hard as I anticipated it to be, although some could argue that because my character was so simple and that is the reason for my easy life. I didn't do some parts of modeling such as wrist twists because I had sleeves, and some blendshapes because my character's face doesn't move for the most part, most notably the jaw. Instead I just applied one shape that allows my to manipulate it into different expressions.

For my walk cycle, I originally had the classic walk where the arms are swinging side to side and I made Iaven slough forwards slightly as well. To personalize this I wanted his walk to be very 'proper', as in a very straight back and smaller arm swings with upraised hands. Because of the way he looks this turned out extremely well and I was very happy with what I did. For the context of the walk he looks very smug so I thought that he just caught his sister (Catherine's Character) doing something naughty and he was bringing his sister home to his parents. As the walk evolved and I added in animation layers the story made less sense to the point where I just changed it to him walking through a meadow, and something catches his attention so he looks over his shoulder.

My background concepts consisted of various location such as the forest, town and inside his parent's floral shop. The location of his walk animation I think would be a meadow that connects his house and the secret carrot patch that he is walking towards, he sees something that he is scared of in the middle of his walk cycle, which is a bird flying past and he raises his arms in surprise. Once the bird disappears he resumes his normal walk cycle.

Overall this was a pleasant experience with 3D that I thought I wouldn't like at all, due to a not so nice experience with 3D at an animation camp few years back. The teachers that I got were all very helpful and I'm glad that all my questions didn't drive them all crazy (hopefully!).

Thank You!

Pre-Render Test


This is the pre-render test of my character walking. I had quite a few animation layers of him doing things but I decided that him walking and looking around felt in-character and looks quite cute as well. The lighting in this scene is not what was rendered, he was overly saturated and overexposed in my test renders so I had to lower everything quite a bit to the point where he looked like he was walking at night time in the maya scene! The lighting was a little bit of a struggle for me but I think I pulled it off in the end as he looks just how I wanted him to.

First Test Render

There was also this thing where I accidently set the export quality to 100 instead of 1, therefore the renders that was coming out took forever! I set it to render overnight and it only did around 34 in 11hours, whoops! I also had some help from the teacher in placing the shadows and whatnot. I did some test renders for the shadows and they turned out hilarious due to some parts of the character's polygons still visible!


[The final Render Quality/Lighting]

Thursday 17 November 2016

Hair Movement


I'm not sure if it looks a little heavy, but I'm pretty happy with how it turned out.

[EDIT]


With the teachers help I was able to offset the hair to allow it to follow the head movement instead of with it. She also helped me with a mirroring the Rotate X from the right hand to the left hand. With that I now need to do my wrists and make the bow bounce. It was recommended for me to bounce it along with the cog, then offset it in the graph editer using the infinity.

[EDIT 2]


Added in a bow movement.

Tuesday 15 November 2016

Personalized Walk Cycle


The context in which I decided to put my character into walking. I was thinking that he has quite a smug walk as he is an older brother and wants to seem mature enough to his parents that he is capable of being responsible. I decided to make his arms not swing as far as they did in his regular walk cycle, because with the arm swings he looks a little too aggressive for his given personality.

Monday 7 November 2016

Iaven Walk Cycle Fixed


With the teachers help I was able to move along some frames so that the arm swing would sync up with the opposite leg instead of the one next to it. This helps the character feel a lot more natural with his walk cycle. The next thing that I will do is make the hands less stiff by clenching them a bit.

How I was told to do it was through the graph editer which was very helpful.


I was told to select all of them and move them +=12 frames then I moved the three next to the last frame and move that to the front. This allowed for my arms to swing correctly.

Iaven Test Walk Cycle


Playblast from my maya file. I tried to do the key steps first and it turned out pretty decent.

[EDIT]


I tried to exaggerate some movements like making his bob lower/higher and making his feet go out further than when I originally key'd it. One thing that I am noticing is that some parts of his shirt and neck are not skinned properly - so I will have to go back to my original file and just fix a some parts of his skinning.

When I am happy with his basic walk I want to try giving him a little bit of personality such as making certain parts of his body bob as he walks such as his bow, hair and tail. I haven't done much with his hands yet but I will probably get to that sooner or later.

[EDIT]

So I realised far too late that my arms were not swinging in the correct direction. Therefore I had to redo the arms and the way that they swing but here is some funny clip that came out of me attempting to fix the right arm.

Thursday 27 October 2016

Posing Iaven


Posing Iaven was pretty fun. The first pose is one I drew in his character pack, he is angry with his sister and is trying to stop her from getting in even more trouble. Second one looks a little strange but he is supposed to be pulling a carrot from the ground. Maybe I should pose his hands and feet a little better to make it look like he is actually pulling something. Third pose is him sitting down at a table - his hands were a little tricky, they were supposed to be just resting on his face but instead it kind of looks like he is crying? The last pose is him dabbing. No explanation needed.

These are some poses that I drew up in class today using a refrence picture from real life. The teacher wanted me to exaggerate the pose at the bottom so I did two versions of his torso rotating a bit to allow his left arm to be more visible in his silhouette.

Weighting Iaven

I've done the weighting of my character after a lot of pain because I decided to manually paint them on. I worked in black and white for this as I thought the colour map was too difficult to do.


The wrist and elbow still gives me a lot of trouble when I try to pose my character, the wrist is hard to twist properly and just looks a little broken - maybe I could try weighting the sleeves along with it.


The head and bow are seperate objects from the body, thus I had to cleanup the weights that connected them together for some reason. The whole head is one object that doesn't really have any independent parts that move other than the hairpiece so I just weighted the whole thing as one piece. The bow has 4 joints that move the top and bottom two pieces so that they are able to move and bounce around as I need them to.

Overall I think I've enjoyed weighting my character, and it is not as difficult as I remember it being which is good. There are some things that I need to fix but I can fix them as I pose my character further. 


Monday 17 October 2016

Colour Controls and Grouping


I watched the videos and finished up the colouring of the controls,

Left = Red
Right = Blue
Middle = Yellow
Cog = White
Custom Controls = Green

Some things I did before this was do the locator in the knees. At first I did it but forgot to move it in object mode (even though the video told me to do it twice) so I had to redo it a second time. I'm confident that I did this pretty well and if I didn't, well I'll just redo it in the future (no biggie *cries*)
Another problem that I ran into was that the Clavical controls were hidden inside my characters geometry. I was confused when I tried to find and colour them but they weren't there. After hiding the geo I found them located very closely to the neck joint so I just moved them out so that they were more visible. 


The outliner reorganizing everything was kind of a nightmare. Not so much that it was hard but my eyes really started to hurt looking at everything grouped together strained my eyes a lot. I ended up finishing without a lot of problems though so I'm pretty happy about that. Next thing that I need to do is to join up the skeleton and do some weight painting. I remember when I was a little younger (maybe 4 years) I attempted weight painting with some premade models + animations. It was a mistake. Beause I edited the model the weights went way off and the only thing I could think of at the time was repainting them (with youtube tutorial help), so hopefully this time I am more successful than I was in the past (I wasn't).

Image result for mafia miss fortune model

The "old" model is the one that I tried to edit by removing the hat.

Wednesday 12 October 2016

Controls pt.1


I have started the basics of my controls - doing each joint and trying to make this easier to reach, so by moving the finger controls to above the hand instead of around each joint, it will be easier for me to animate hand controls.

The second picture is from another day animating controls. I had forgotten what to put in the "Create Circle Ctrls" where JNT_ and CTRL_ are supposed to go. Instead I had stupidly put _L and _R which meant that when I created those controls the JNT was still there, and any _L that I had was replaced. I manually renamed everything but it was a pain to do.

This is pretty simple as it is and I feel as though circles and squares are enough for me. I personally don't like using very fancy shapes and I want to keep it clean and simple with cirlces for the arms and legs, and square shapes for the body.


For the tail I switched it up a bit and decided to use a sphere shape instead of just a simple circle. This allows me to quickly identify which control is the tail, and the shape is exactly the same as the tail itself.

The collar and neck I just moulded a shape that would fit around the head by moving the vertexes of a circle, These shapes are pretty distinct and wraps around the outside of the body to allow easier access.


Tuesday 11 October 2016

Aligning


I've started aligning the skeleton, and it was pretty simple once I started getting into it. Some things that I had to change were the Clavical>Hands and Ankle>Toes. This was because I made a mistake and made everything have Y pointing upwards when this was not supposed to be the case. As shown above I fixed it so that Y was following the alignment of the skeleton.


After I finished with that I mirrored all the joints across. This part was simple as well, only using the mirror joint tool - I'm pretty happy with how it turned out. Next I'll be going on to add the Controls. Watching the videos that Blake gives us really helps out because following him without it proved to be pretty difficult.

Wednesday 5 October 2016

Rigging Iaven

Started to build up the skeleton for my character.


I started to rig the bow, but not sure how many to put in it - thinking two?


Sunday 2 October 2016

Background Concepts

My concepts for some backgrounds.

Because Iaven is a hybrid human/rabbit who's parents also own a florist shop I thought that a garden where his parents shops flowers are grown would be nice. There is also a strip for just growing carrots which he loves.

Other than that I thought some other cool backgrounds that I could use were an outside view of the town where the time stopping bubble can be seen - and the crash site of the alien (taking Hyemi's ship design).


Thursday 15 September 2016

After Effects and Final Turnaround!

I finally had everything finished and polished and the last thing that I had to do was plug them into aftereffects. I did everything as normal - put in my 2 png sequences plus lowering their fps from 30 to 25 to allow my turnaround to be a clean 6 seconds.


I also tried adding a white and orange solid to give my character a little more life but after some thinking I decided to remove them because it made the blue colours on his clothes look a little washed out, and it took some saturation out of my character too.


The orange version is on the left and it does look a lot more washed out as I sit here typing this, so I am pretty happy that I decided to switch back to the original colours that I had. I played around with the settings in After Effects with the help of a classmate and finally exported my final piece.

The Final Video!!!

Occlusion Setup

The Occlusion process for me was very stressful. First I downloaded the video file but the audio was not working for me at all - I had to piece my way together from what I remembered from the day before as the teacher was recording it. I also had a LOT of help from my classmate.

The problem fixed itself when I changed what program I was viewing it in though so that was good. I managed to create an accurate copy of what the teacher did in no time with the voice included.


To export the file I did all of the setting required and everything turned out great. This was the result of my Occlusion:


As shown I was pretty pleased with how it turned out - the quality and shadow placements were perfect! It took a while to render but when I was done I just went ahead and rendered the coloured version which took a lot less time to render - in fact I did it about 2 times because I messed up the first time T.T


This was the maya view versus the preview render. At first while I was setting up things werent going so great. My character was far too shiny and I had a lot of lights, I had to play around in the original file to get the shine levels down to a (personal) acceptable rate. I may have overdone it though because the places where I wanted shine (the eyes and bow) seem to have lost it but thats alright with me because the end result is quite nice and the matte texture almost makes the character look like he is made out of coloured chocolate and put on a cake! (a classmate pointed that out to me)